
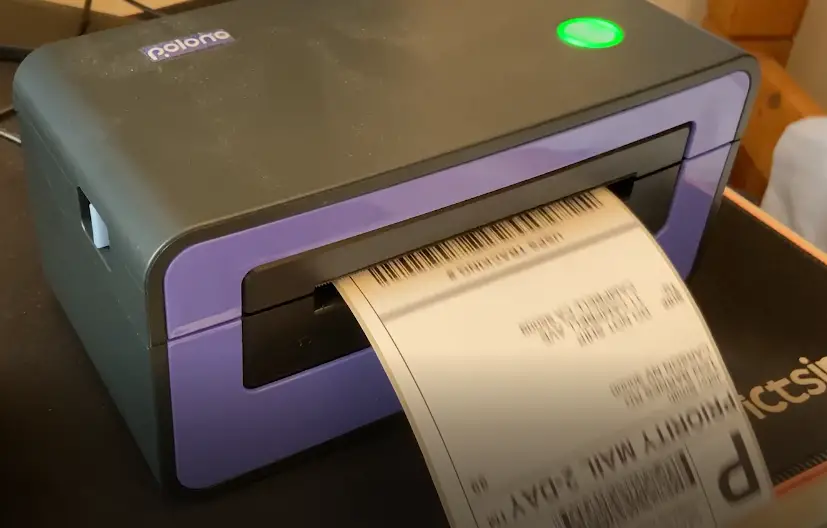
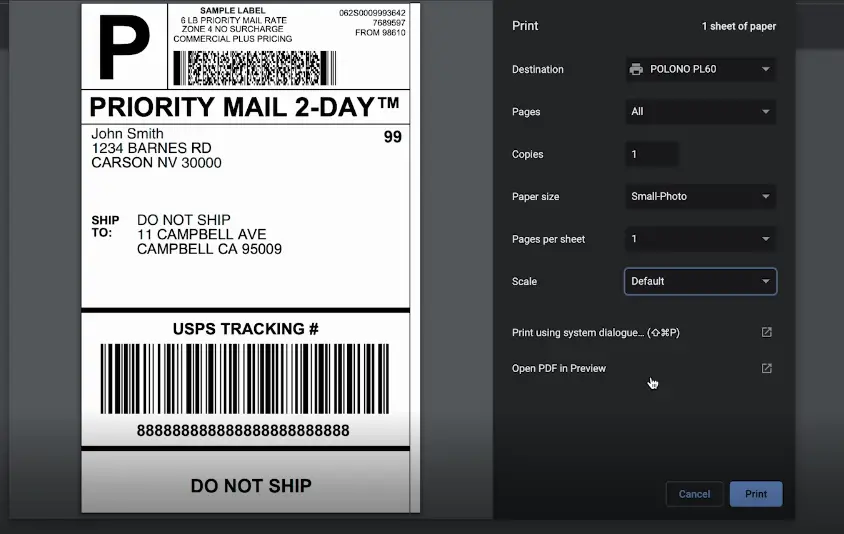
POLONO Thermal Label Printer, 4x6 Shippping Label Printer for Shipping Package, Commercial Thermal Label Maker,...
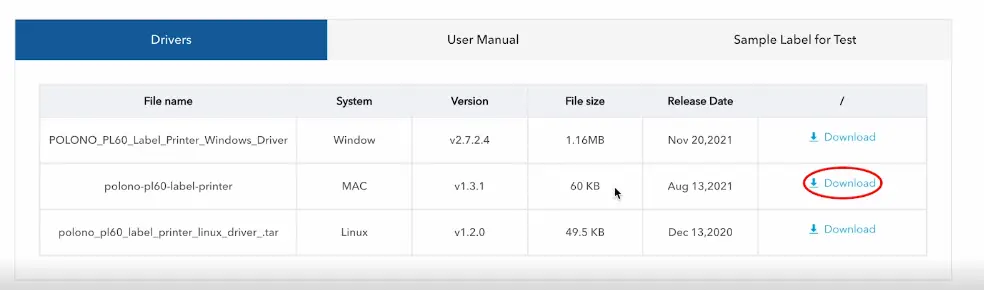
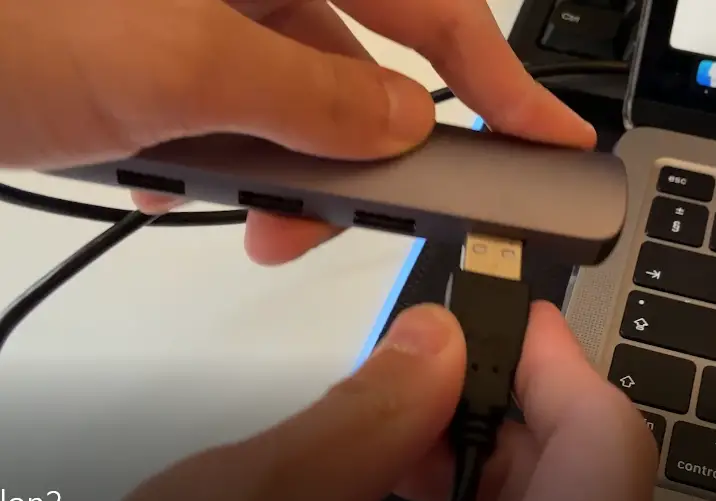
- Compatible with Windows & Mac: POLONO thermal printer works well with Windows and Mac.This shipping label printer is easy to use on computers or...
- Automatic label detection: The label printer automatically adjusts the position accurately, comes with intelligent paper return function,...
- Good-speed Printing: With high-speed printing of 150mm/s, can print 72 labels per minute. Greatly improve work efficiency and save time. This...
- Green & Good Quality: POLONO label printer adopts advanced thermal direct technology to print without any toner or ink.The customized print head...
- What's in the Box: The POLONO shipping label printer comes with 1 Purple Printer, 1 Paper Storage, 1 Power Cord, 1 USB Cable, 1 U Disk, 1 Quick...


Last update on 2025-04-17 / Affiliate links / Images from Amazon Product Advertising API