How to fix msvcp140.dll was not found on Windows 10
When I was installing the Rockstar games launcher earlier, I cam across a problem that prevented the installer from installing the rockstar games launcher. It mention this: The code execution cannot proceed because msvcp140.dll was not found.
This problem is caused by the Microsoft Visual C++ 2015-2019 Redistributable package. Although I already has the redistributable package installed the error still came about. This is possibly due to some corrupt files. Fortunately, the msvcp140.dll was not found problem is a very easy fix.
Table of Contents
1. Uninstall the old Microsoft Visual C++ 2015-2019 Redistributable
Firstly, you want to uninstall the old Microsoft Visual C++ Redistributable. You will want to do this because if you don’t then when you install the redistributable again the program will say you’ve already got it installed.
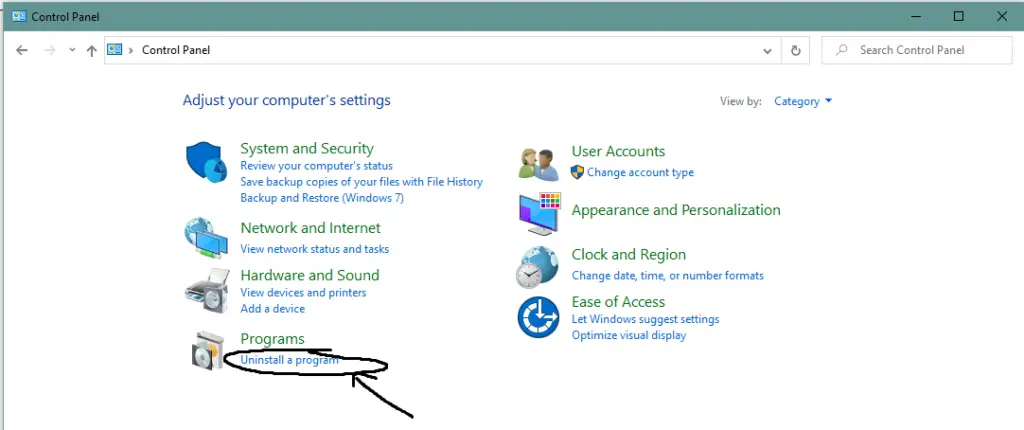
Open up control panel by clicking the windows icon and typing in control panel. Then click uninstall a program under the programs tab.
Find the two redistributables labelled 2015 (x64) and (x86). Right click each and uninstall them. If you only see one then unistall that one. If you don’t see any then the chances are you don’t have the redistributable installed in which case you can move to the next step.
2. Install the Microsoft Visual C++ 2015-2019 Redistributable
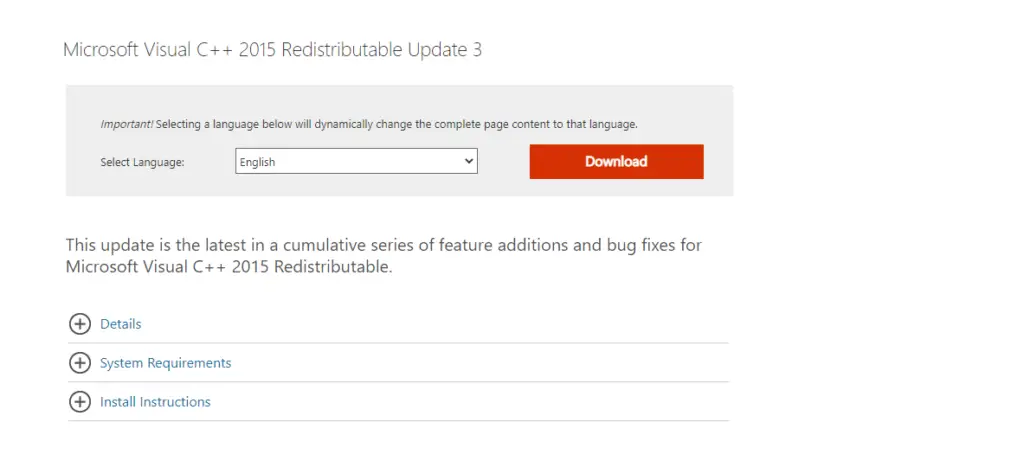
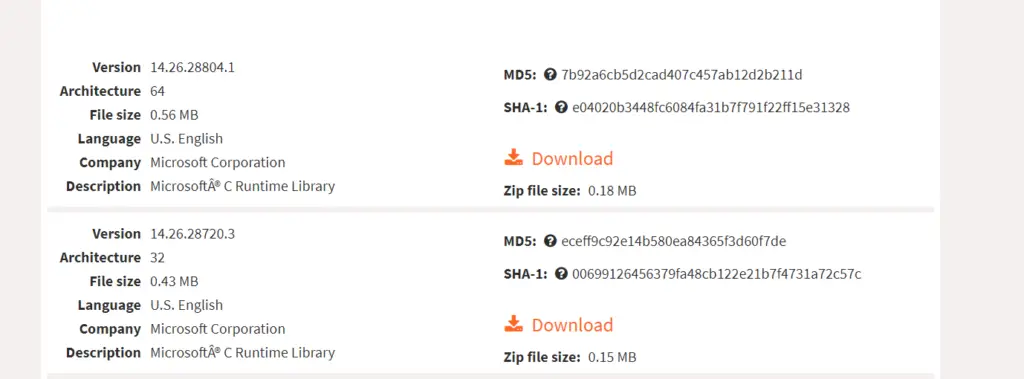
Once you’re there you will see something like the above. Select your language and press download.
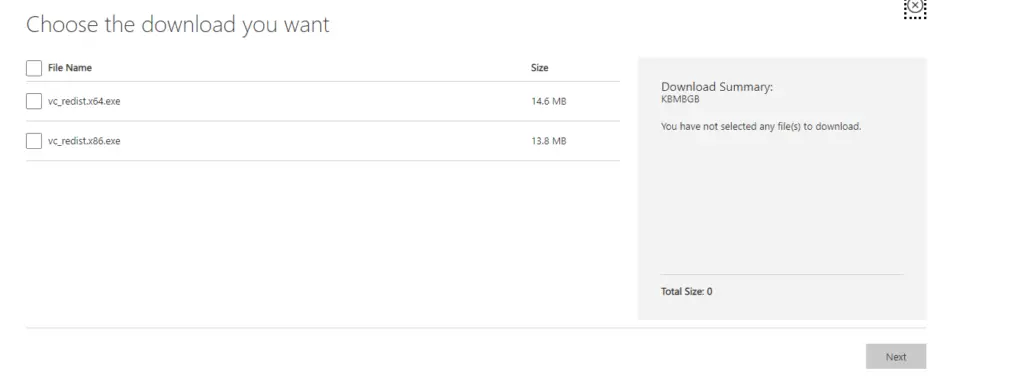
Select the version for the windows version you’re currently using. x64 for 64 bit windows and x86 for 32 bit windows. Then click next. If you’re running 64 bit windows then you need both but this will automatically be done if you install the x64 version.
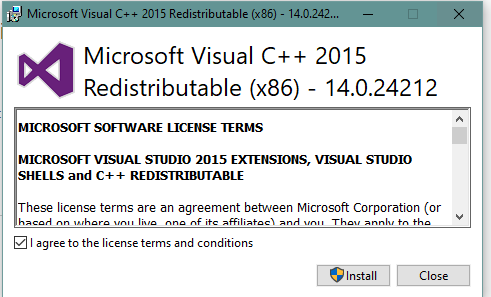
Open the .exe file by clicking on it and go through the whole installation process. If you’re on Microsoft edge then click run.
Install it. Once you’re finished you will probably have to restart your PC. So close down any programs and click restart.
Once you start up your computer again, go ahead and run the initial program you were trying to run and the msvcp140.dll was not found error will no longer be there.
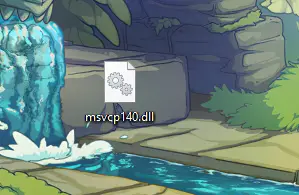
Click the link above and scoll down to the files. Then select the latest file you need according to your architecture. Use architecture 64 for 64 bit windows and 32 for 32 bit windows. Download the zip file and open it and then drag the .dll file out to your desktop to extract it.
2. Extract the files
3. Copy files to System32
Open up file explorer and head over to This PC -> LOCAL DISK (C:) -> Windows -> System32. Then drag in the dll file you have just extracted. When the prompt comes up asking what you want to do with the file click replace the file in the destination. Restart your computer and the problem should be fixed.
Conclusion
The missing dll files is usually quite an easy fix. We recommend reinstalling the whole redistributable as this is a lot better and safer to do. The first method usually solves the problem and keeps things up to date. The second method will allow you to add and replace all the dll files you need which may be useful. If you have any problems let us know in the comments. Be sure to check more useful guides on our website.