A clean graphics card is a great tell-tale sign of a desktop computer running well. Not only dust gives a repulsive look to your PC, but it also influences its actual performances.
When you clean your graphics card, you perform a much-needed maintenance routine. Thus, it is important to understand how to clean it effectively to ensure its proper functioning.
Table of Contents
Why is it important to keep your graphic card and your PC clean?
If you don’t regularly clean your PC, then the pc will start to slow down. Maybe, you will notice your PC making more noise than usual. Then, one day, as many gamers and binge-watchers know, it will shut down all of a sudden. To put it differently, the PC overheats too much if you don’t clean it.
Indeed, if the PC overheats, there may be other problems. However, if you periodically clean your graphics card, you will reduce the chances of your PC overheating. Namely because once you start cleaning your GPU (Graphics processing unit), you might easily end up cleaning the other parts as well.
As a result, a clean PC means lower temperature readings. Also, lower temperatures will contribute to extending the life of your PC parts. You will enjoy them for more time. Plus, a clean graphics card allows for better gaming and home-cinema experiences. For instance, no dust implies maximum graphics card speed for your games and movies.
The necessary tools
Here is a list of what you need to clean your GPU:
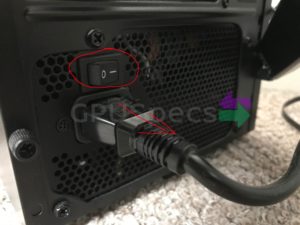
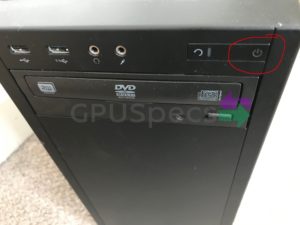
Before starting to clean any computer part, it is necessary to unplug it from the electrical outlet. Additionally, make sure that there is no charge left inside by clicking on the On/Off button several times. Sometimes, the fans can keep spinning for a few seconds. In this case, wait for them to stop.
2. Remove all cables and move to easy to work on non-carpet floor
Be sure to disconnect all the cables and wires before proceeding. First, move your PC to some well-ventilated place. In this way, you won’t take any chance of letting more dust in or breathe it yourself. If you have a spare surgical mask, you can wear it to better protect your lungs.
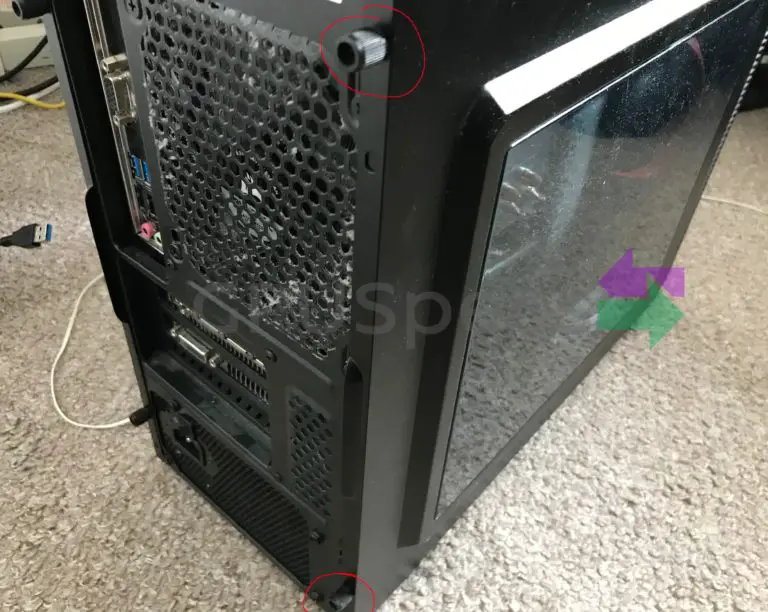
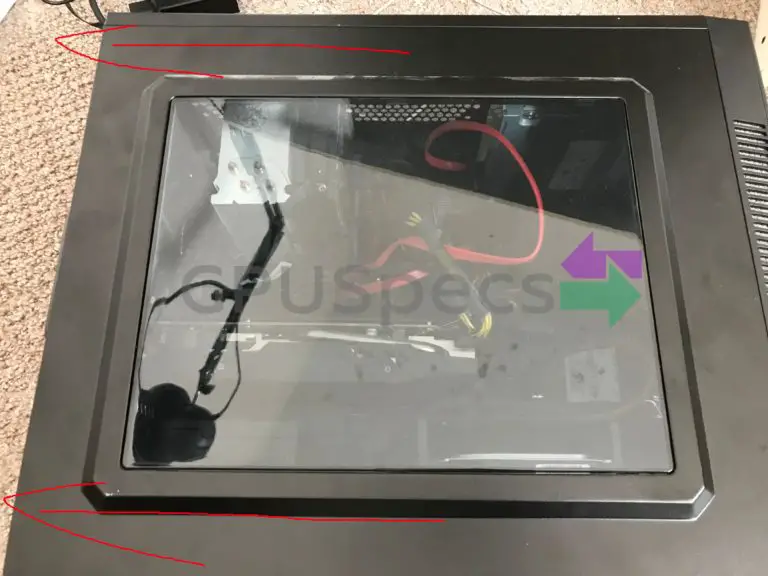
3. Open up the PC case
Open the pc case. First, remove the screws on the back. Ordinarily, you can then open the case by sliding the right side of your pc.
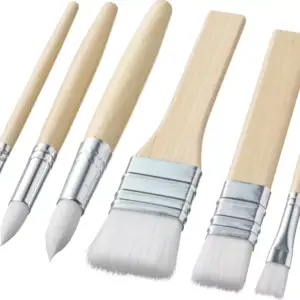
4. Remove Dust Using a Brush
If a lot of dust accumulated on your GPU, use the paintbrush to remove it. You can collect it using your hand or a sheet of paper to prevent it from ending up in the parts below.
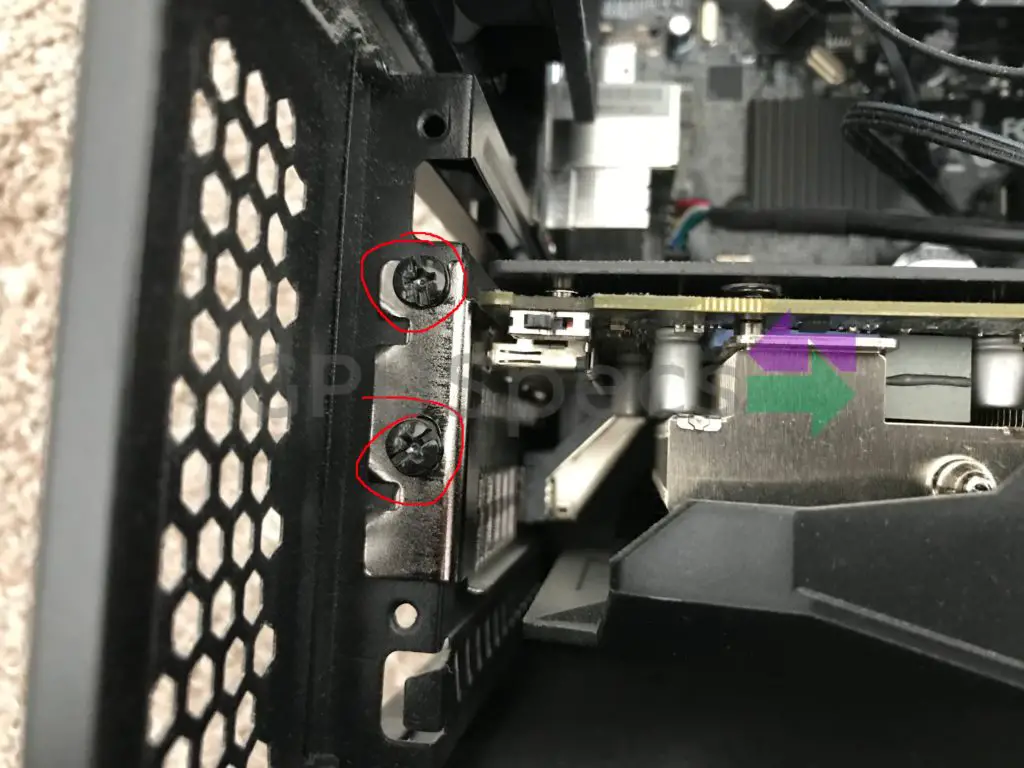
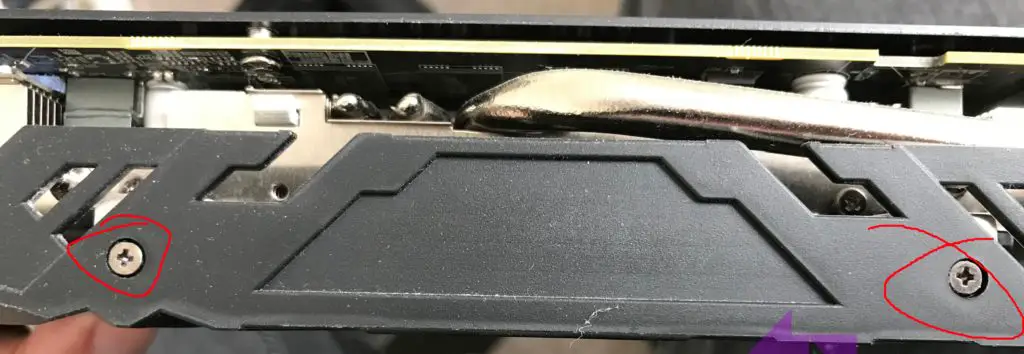
5. Remove the screws holding the card to the case
Then, remove the screws that hold the graphics card mounting bracket to the rear of the case.
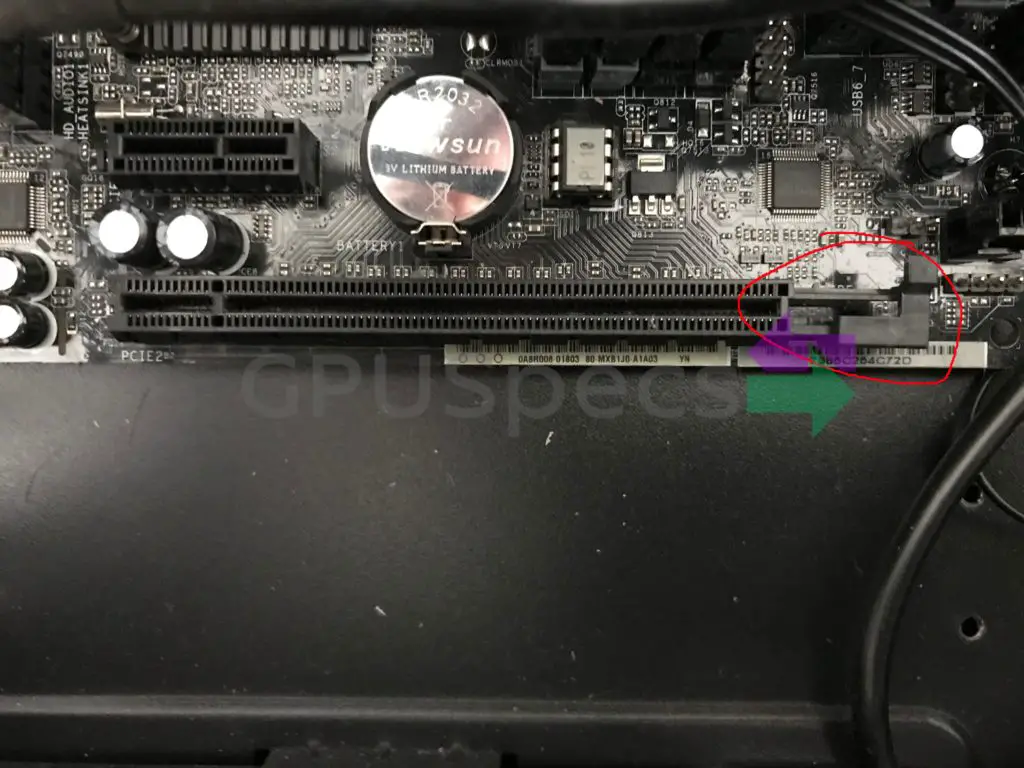
6. Undo the latch to remove the card
Next, it is time to lift the graphics card. Be aware that the latest models have a lever you need to push down or move to the side to release the card from the socket. Instead, older models only require a firm grip and a careful pulling action. Please, refer to your instruction manual if you are unsure about the release mechanism.
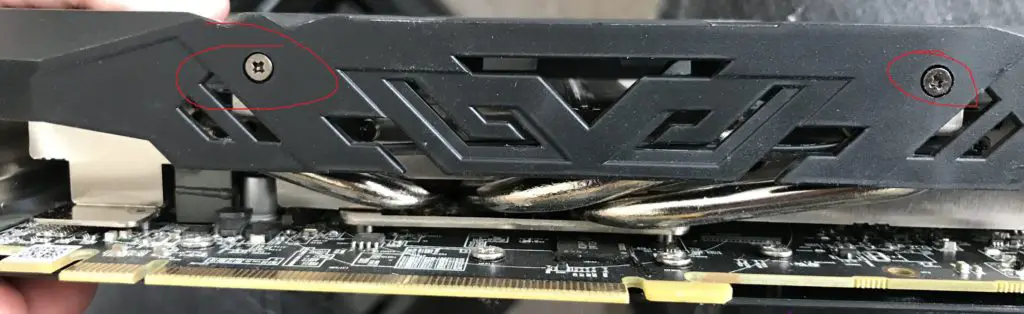
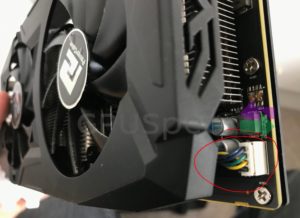
7. Clean and Remove Screws for fan
At this point, start to clean your graphics card by removing the dust with the paintbrush. If your graphics card allows it, remove the screws that hold the fan to the heatsink. Then, unplug the power cord of the fan using the pliers as it may be tricky to reach.
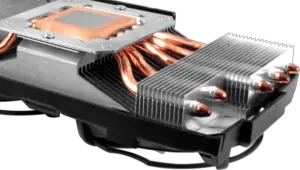
8. Use cotton swabs and clean heatsink
The cotton swab comes in handy for the models that do not allow complete detachment. Also, in case this is the first time, take a picture of your GPU to help you remember where everything fits.
To clean the heatsink, use the can of compressed air. It is crucial not to direct the airflow toward the base of the heatsink. In brief, direct the airflow horizontally. Your goal is to remove any dust and grit from the side. To make your can of compressed air last longer, spray short two to three-second blasts.
9. Removing the heatsink
As many manufacturers glue the heatsink directly to the GPU with thermal paste, it is not recommendable to remove it forcefully. You should only replace dried thermal paste after throughout removal of old residues with Isopropyl alcohol on a lint-free cloth.
10. Check if you can easily remove the heatsink
You can test if the original thermal paste still holds the heatsink by removing the retaining screws of the heatsink. If it does not come off naturally after you removed the screws, put them back in.
If your graphics card displays a lever to unlodge the heatsink, there may be a good chance that the heatsink is detachable to allow for an easier cleaning procedure. As before, read the instruction manual is advisable to avoid any damage or mistake.
11. Clean everything again (if you have the heatsink off)
Now that you’ve finished taking it apart, clean everything with your paintbrush and compressed air. If necessary, use the cotton swab soaked in alcohol to remove any persistent dirt and dust. If you use Isopropyl alcohol, wait for it to fully evaporate.
12. Reassemble
Lastly, you need to reassemble the various components. To begin with, secure the heatsink if you took it off. Then, reattach the power cord of the fan and screw it back in the original position.
Finally, you only have to follow the precedent steps in a reverse order to enjoy your clean graphics card.
Conclusion
After all this cleaning, it is essential to make sure that the fan on your graphics card is working. Whenever you clean your graphics card, briefly turn on the computer without the side panel if you don’t have a glass side panel.
A clean graphics card will make you enjoy your PC more. In general, it is recommendable to clean your graphics card every six months.
In case you notice that the screen does not work correctly, reopen the case. Unplug the graphics card and put it back in its place. Commonly, it is only a matter of wrong connection. Sometimes, it is due to the presence of additional dust on the dedicated slot that first-timers inadvertently place when cleaning the card above the open case. Be sure to check our other guide on our wesbite.